
(Post Updated 15th January 2026)
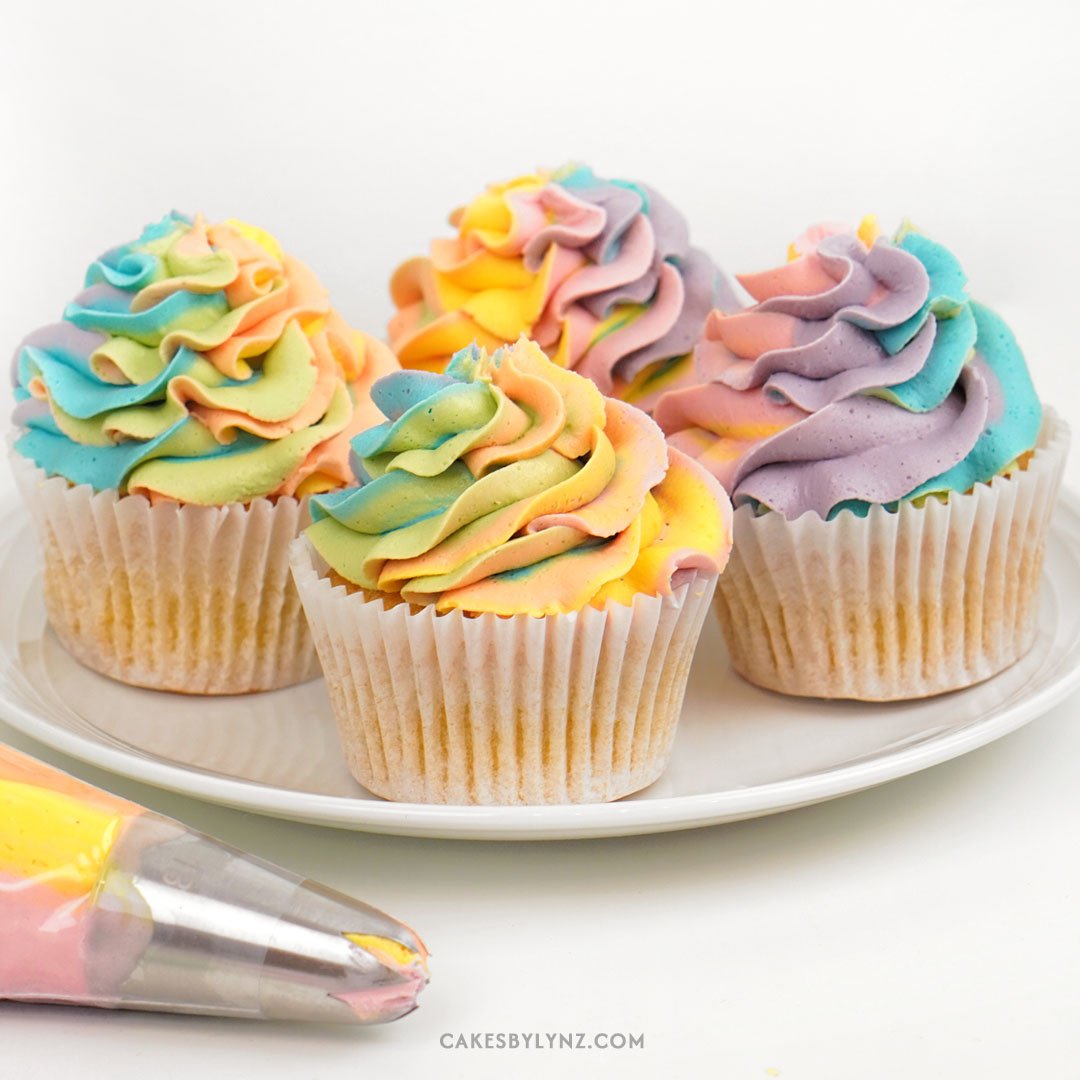
One of the most satisfying parts of cake decorating for me is piping beautiful buttercream swirls, especially when they’re topped with a pastel rainbow buttercream swirl!
In this tutorial, I’ll show you the easiest way to pipe rainbow buttercream with no mess. This technique allows you to get multiple colours into your piping bag to create this gorgeous rainbow effects. Plus, I’ll be sharing some of my top tips for achieving the perfect buttercream colours too.
In this tutorial:
Watch step-by-step: How to create rainbow buttercream swirls
Let me show you just how easy it is to create this beautiful effect! Whether you’re piping swirls onto your cupcakes or adding a colourful border around the edge of a cake. Watch the video below to see exactly how it’s done, then scroll down for my top tips!
How to create a Rainbow Buttercream effect
If you want to create rainbow buttercream you might be wondering how you can get all those colours evenly into your piping bag without creating a huge mess. The answer is a piece of cling film or plastic wrap.
If I’m ever piping more than 2 colours I will always use this method as it makes it so easy to get all the colours, in this case 6 colours into the piping bag.
The cling film technique
Step 1: Layout your cling film and spoon or pipe your buttercream in to thin lines. One thing to always bare in mind is that we will be rolling the cling film up and placing this into our piping bag, so be aware of how large your piping bag is in relation to how long and thick your buttercream lines are.

Step 2: Next fold over the edge of your cling film so that the first colour meets the last and push this down to create a thick sausage shape. Twisting those ends once its rolled.

Step 3: You can now trim off one end of that buttercream sausage and place this into your piping bag. It might not fit right to the end, but shake it down as far as it will go.

Step 4: Once in the piping bag place some pressure on the end and your buttercream will fill to the end of the piping bag. This will create an even spread of the buttercream colours. Here I’m using the 2D piping nozzle.

Step 5: To pipe a traditional buttercream swirl start by holding your piping tip on the outside edge of your cupcake. Apply pressure and slowly bring the piping bag around the whole edge. Once back where you started bring your piping bag in slightly and do another rotation. Repeat this process until you reach a point at the top of your cupcake. Stop applying pressure and pull away.

Top Tip: I use 12 inch piping bags, and this pipes around 6 cupcakes. If you want to be able to pipe more at a time you can get larger piping bags. Alternatively open your piping bag and remove the cling film, replacing it with a new selection of colours.
Colouring Pastel Buttercream
There is nothing prettier than a pastel buttercream on your cakes or cupcakes. If you are wondering if you need to buy specific pastel shade food gels – The answer is no. You can use any colours, even it they look really bright. You just need to add very small amounts of colour to build it up to the shade you want. Remember less is more. It’s always easier to make buttercream darker than to try and lighten it.
Also remember that buttercream will also develop over time, so the longer you leave it the brighter those colours will get. Here I’m using my American Buttercream recipe which is so delicious and colours so well.
Why does my blue buttercream look green?

A common problem if you are colouring blue buttercream is you can often end up with this minty green colour. The reason for this is that buttercream has a base colour of yellow, as the butter we use is naturally yellow, and if you add yellow to blue you get green.
There are vegetable fat alternatives, but butter will always taste better. Butter is naturally yellow, but there is a way to get a truer blue.
Firstly mix your buttercream for longer to lighten the butter or add whiteners to reduce the yellowness. Check out my tutorial here for white buttercream. But there is a simpler solution to give you a perfect shade of blue and that is to add purple.
I know it seems crazy to add purple, but purple is the opposite of yellow. By adding a very tiny amount of purple you neutralise those yellow tones. You can add the purple before or after the blue. Then as if by magic as you mix that through the green fades revealing a beautiful shade of blue. This also works with other colours too, if you think they look a little on the yellow side.

I really hope you enjoy the tutorial and you will find it useful if you want to pipe rainbow cupcakes. As well as the traditional swirl, it also looks great for rosettes, so don’t forget to experiment. If you haven’t already don’t forget you can subscribe to my YouTube channel for more Free cake decorating video tutorials.
Tools you will need
- Piping Bags
- 2D piping nozzle
- 1B Piping Tip
- Orange ColourMill – 10% off LYNZ10
- Rose ColourMill – 10% off LYNZ10
- Baby Blue ColourMill – 10% off LYNZ10
- Lime Green ColourMill – 10% off LYNZ10
- Purple ColourMill – 10% off LYNZ10
- Happy Sprinkles – Birthday Parade – similar to the ones I used – 10% off HAPPYLYNZ10
- Yellow Food Gel – 10% off CakesbyLynz
- Blue Neonz Food Gel
Plus if you’d like to see all my favourite cake decorating tools just click here: https://www.amazon.co.uk/shop/cakesbylynz
~ Please note that some of the links above are affiliate links. If you click the link and purchase any item through that link, I will receive a small commission from the website but this does NOT add any additional costs to you. Thank you so much for supporting this blog x ~
Why not save this tutorial for later and pin it to Pinterest


